
PSD to HTML Crash Course
PSD to HTML conversion translates layers in your PSD to HTML elements with CSS support. If you export a basic PSD to HTML website, there very few options required to get a pixel-perfect translation.
Although your PSD to HTML conversion is a quick and simple process for a basic HTML website, most modern websites require common features such as CSS3 effects, responsive CSS and scripting support – Export Kit does it all!
IMPORTANT: This tutorial assumes you are usingYOURcustom PSD that was created prior to using Export Kit, this tutorial will show you steps tomap your PSD to HTML designto get a perfect PSD to HTML export.
NOTE: This tutorial assumes you DO NOT want advanced options or features, if you do then you should read our Advanced Export tutorials.Step 1: Organize your Content, Bottom-Up
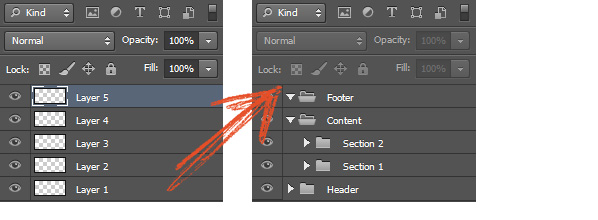
Regardless of the project requirements, you should always organize your PSD layers in folders/groups. Because the export process works bottom-up with layers, you should ensure your layers reflect your project – header, footer and content folders.
Step 2: Use Correct Layer Names
Export Kit will correct layers names to ensure an accurate conversion, but there are situations where incorrect layer names will cause unwanted display errors.
DO NOT start layer names with numbers, eg. "123-456-7890", change the name to "phone number" - learn more
USE UNIQUE NAMES - learn more
Step 3: Use Smart Objects
We do not currently support adjustments, complex shapes and vectors (coming soon), the quick solution is to convert the layer or folder group into a Smart Object.
Smart Objects will translate to an image, use our Obj Tag to convert the contents of the Smart Object during the export.
Step 4: Export Options
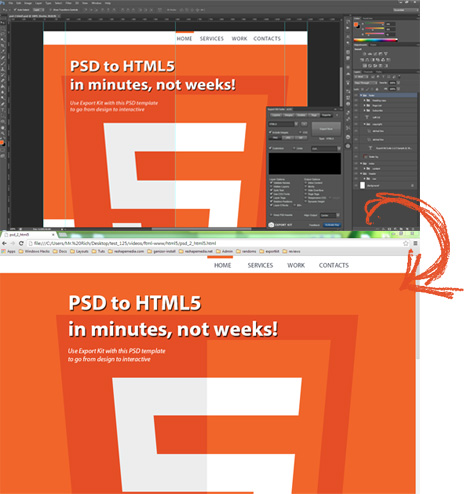
Export Kit gives you many options for delivering your project output as both a demo and a finished product.
For a quick export or client preview - press Export Now - great for when client ask "can I see how it looks so far?".Relative Positions (Clean Code)

*Recommended*
You must enable Relative Positions to translate your folders and keep content in a parent-child relationship.
Inline Code Styles
1 | <img src="../skins/sample_123/bg.png" id="bg" style="top:58px;left: -410px;width: 2003px;height: 797px;" /> |
Some project require CSS styles directly in the HTML elements, to do this you must enable Inline Content in your options.
Effects and Styles


You must enable Layer Effects to translate your PSD layer styles into CSS3 elements.
If your PSD design uses layer styles, then we strongly recommend you enable Layer Effects otherwise you may have display errors with some effects - learn moreAlign Your Look and Feel
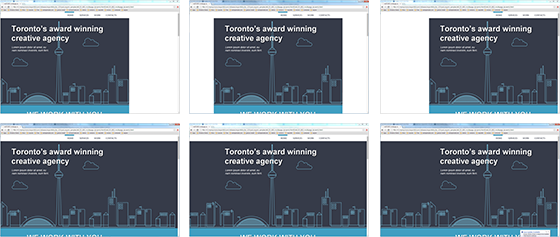
You can use Align Output and Hide Overflow to customize your look and feel with Flush and Fluid layouts.
Step 5: Export that Kit!
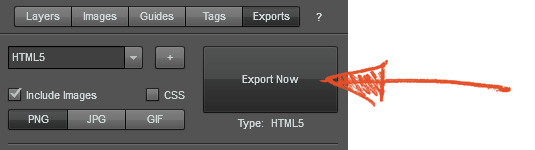
Once you have your settings ready, click Export Now.
Optimize Display Errors
All PSD designs are unique, but we have collected 100s of PSD files sent to us by users and compiled a list of the most common errors/fixes.
