
Using Export Kit with XD
Export Kit will convert all content in your XD design to a working project respective of your selected output. Some projects such as HTML5 work out-of-the-box and can launch a visual render of your XD document instantly. Other projects such as Android will require a native IDE such as Android Studio to load and compile.
Step 1: Layers
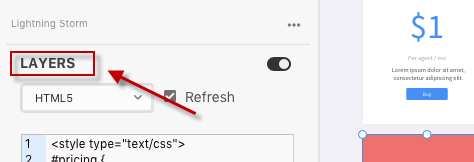
Layer Kit is designed to give a visual code rendering of your XD layers in multiple code formats, along with quick image options for layers.
Select A View
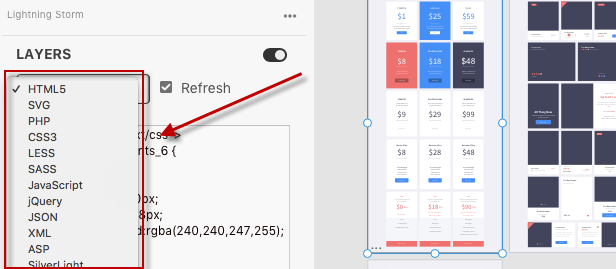
Select your desired View using the dropdown menu. There are many environments supported by Export Kit:
HTML5
CSS
JavaScript
jQuery
Android UI
Android Styles
PHP
SVG
LESS
SASS
ASP
Silver Light
VB
XAML
Swift
XCode
JSON
XML
Export Layer Images
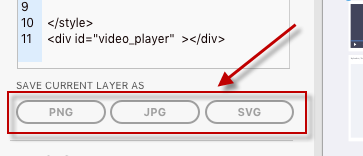
Select any layer or folder in your XD document you want to export, then select the desired image output type.
Step 2: Images
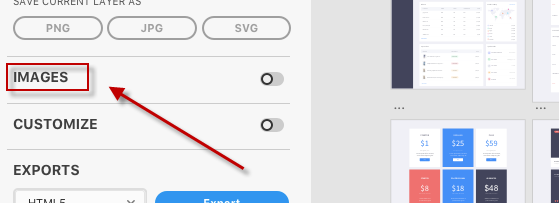
Image Kit will allow for quick export of all XD layers as various image types and will extend your design work-flow by allowing you to export your document as a snap shot, watermark or smart resize.
Toggle to Open
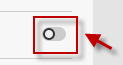
Press the toggle button to open the panel.
Snapshots and Watermarks
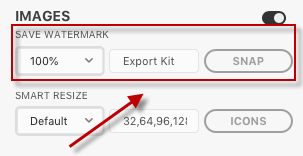
You can take quick snapshots of your current XD document, this is the fastest way to give your client a preview of your progress You can Resize your snapshot on-the-fly with options for scaling the size of the image, or optionally choose to watermark your image and customize the watermark text included with the snap shot.
Smart Resize
![]()
Quickly resize your current XD document with unlimited options for custom sizes.
![]()
Smart Resize is preset with many common sizes based on industry standards. Select any one of the preset sizes to resize your design right away. Customize the sizes you want your document to resize to when exported. You can create unlimited size groups to generate all the required image sizes for your project.
Size Guide
100= Max Width of 100px100:50= Max Width of 100px, Max Height of 50px100:50,75:75= Multiple Images, separate with comma ","
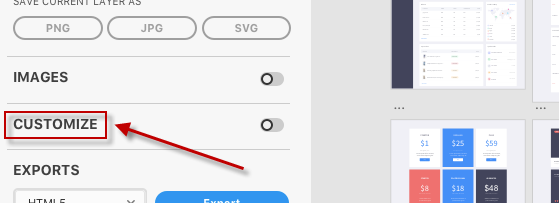
Step 3: Customize
Extend the functionality of the Export Process with your output.
Toggle to Open
Press the toggle button to open the panel.
Select your Language
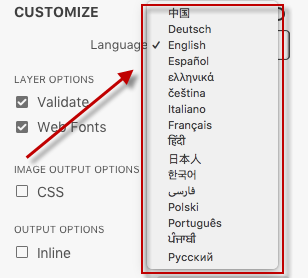
Ask us to translate yours!
中国DeutschčeštinaEnglishEspañolFrançaisitalianoहिंदी日本人한국어فارسیελληνικάPolskiPortuguêsPусскийपंजाबी
Customize your Output
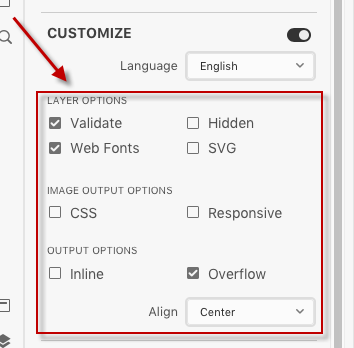
You can customize how Export Kit processes each XD layer and document when exporting.
Validate
In a perfect world, all layer names are valid – in reality, most are not [Learn More]
Hidden
By default, Export Kit will not output layers that are hidden in most environments [Learn More]
Web Fonts
Web Fonts provide typeface information such as Font Name and Font Style where available for web [Learn More]
SVG
Many modern browsers and devices support Vector graphics, with SVG as the most common [Learn More]
CSS
Some Outputs support CSS background images, you can enable this feature by selecting CSS.
Responsive
You can also include responsive image assets to reduce the bandwidth on smaller devices such as mobiles [Learn More]
Inline
Inline content allows you to choose between two Build Patterns per environment (additional patterns to come) [Learn More]
Overflow
Overflow allows you to render your output content as seen the design, or fill the user screen [Learn More]
Dnyamic
Dynamic height will calculate the size of each view, based on the size of the elements [Learn More]
Hybrid
Hybrid will convert some layer effects and vectors to images where not supported in a particular environment.
Align
Customize where the content is aligned in your Output based on the user screen size [Learn More]
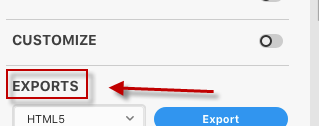
Step 4: Exports
TIP: For new users we strongly recommend youdisable OVERFLOWandenable HYBRIDin your custom options (see above). This will ensure your design renders "As-Is". Once you are comfortable you can change options and test the output results.
You have two export type options depending on your project requirements. You can export a single Artboard as a self-contained project or all Artboards as multiple pages / screens in a full project.
Select an Artboard to export only that Artboard
If you select an Artboard or an element within an Artboard, Export Kit will render that Artboard as a self-contained project.
Select nothing and all Artboards will export
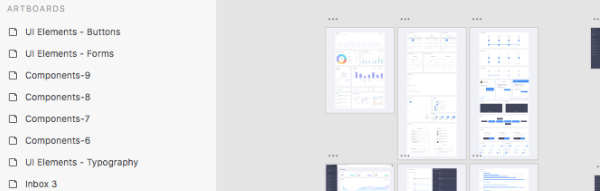
If you deselect your Artboards, your entire XD document will export all Artboards as respective pages within your project.
Select your Output Environment
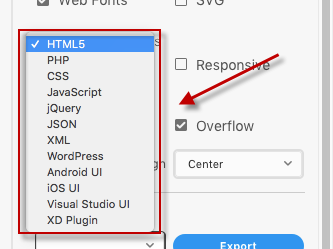
Select your desired Output using the dropdown menu. Learn more about using each Output by clicking on the environment below:
HTML5
CSS
PHP
JavaScript
jQuery
Android Studio
Xamarin Forms
XCode
WordPress
JSON
XML
Export That Kit!
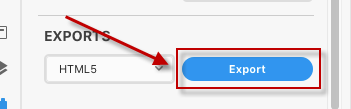
Click Export when ready to begin the export process… click… done!
TIP: Read our tutorials to convert your XD design to HTML, JavaScript, Android, XCode, Xamarin Forms, or WordPress now.
