Home » Posts » Kits » Pro » Layer Kit Pro » Using XCode View
Using XCode View
Last updated on September 24, 2020 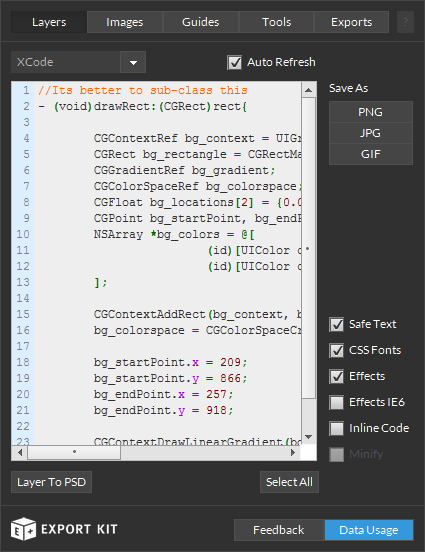
XD, PSD, AI and INDD layers to XCode with clean and clear code becomes simple. Translate your XD, PSD, AI and INDD layers to XCode with advanced support for text, images and shapes.
Example Image Element
1
2
3
4
5
6
7
8
9
| //you must import your image
UIImageView *button_copy_view = [[[UIImageView alloc] initWithFrame:CGRectMake(446, 240, 310, 166)] autorelease];
NSString *button_copy_path = [[NSBundle mainBundle] pathForResource:@"button_copy" ofType:@"png"];
UIImage *button_copy = [[UIImage alloc] initWithContentsOfFile:button_copy_path];
[button_copy_view setImage:button_copy];
[button_copy release];
[self.view addSubview:button_copy_view]; |
Example Text Element
1
2
3
4
5
6
7
8
9
10
11
12
13
14
15
16
17
| NSMutableParagraphStyle *text = [[NSMutableParagraphStyle alloc] init];
UILabel *text_view = [[UILabel alloc] initWithFrame:CGRectMake(132, 501, 227, 90)];
UIFont *text_font = [UIFont fontWithName:@"ArialMT" size:68];
NSString *text_str = [NSString stringWithFormat:@"TEXT"];
UIColor *text_textColor = [UIColor colorWithRed:(255.0/255.0) green:(255.0/255.0) blue:(255.0/255.0) alpha:1];
NSAttributedString *text_textStr = [[NSAttributedString alloc] initWithString:text_str];
text.lineSpacing = 68;
[text_textStr addAttribute:NSParagraphStyleAttributeName value:text];
[text_textStr addAttribute:NSKernAttributeName value:@2.0];
[text_textStr addAttribute:NSFontAttributeName value:text_font];
[text_textStr addAttribute:NSForegroundColorAttributeName value:text_textColor];
text_view.attributedText = text_textStr;
[self.view addSubview:text_view]; |
Example Shape Element
1
2
3
4
5
6
7
8
9
10
11
12
13
| //Its better to sub-class this
- (void)drawRect:(CGRect)rect{
CGContextRef button_bg_context = UIGraphicsGetCurrentContext();
CGRect button_bg_rectangle = CGRectMake(72, 449, 310, 159);
CGContextAddRect(button_bg_context, button_bg_rectangle);
CGContextSetFillColorWithColor(button_bg_context, [UIColor colorWithRed:(206.0/255.0) green:(54.0/255.0) blue:(54.0/255.0)].CGColor);
CGContextFillRect(button_bg_context, button_bg_rectangle);
self.view.layer.cornerRadius = 30;
} |
Customize the XCode View to include additional information with the XD, PSD, AI and INDDlayer such as effects, advanced text rendering and more.
Example Layer Effects
1
2
3
4
5
6
7
8
9
10
11
12
13
14
15
16
17
18
19
20
21
22
23
24
| NSMutableParagraphStyle *text = [[NSMutableParagraphStyle alloc] init];
UILabel *text_view = [[UILabel alloc] initWithFrame:CGRectMake(132, 501, 227, 90)];
UIFont *text_font = [UIFont fontWithName:@"ArialMT" size:68];
NSString *text_str = [NSString stringWithFormat:@"TEXT"];
UIColor *text_textColor = [UIColor colorWithRed:(206.0/255.0) green:(54.0/255.0) blue:(54.0/255.0) alpha:1];
NSAttributedString *text_textStr = [[NSAttributedString alloc] initWithString:text_str];
NSShadow *text_shadow = [[NSShadow alloc] init];
text.lineSpacing = 68;
text_shadow.shadowColor = [UIColor colorWithRed:(0.0/255.0) green:(0.0/255.0) blue:(0.0/255.0)].CGColor;
text_shadow.shadowOffset = CGSizeMake(-4f, 3f);
text_shadow.shadowOpacity = 0.8f;
text_shadow.shadowRadius = 2.5f;
[text_textStr addAttribute:NSParagraphStyleAttributeName value:text];
[text_textStr addAttribute:NSKernAttributeName value:@2.0];
[text_textStr addAttribute:NSFontAttributeName value:text_font];
[text_textStr addAttribute:NSForegroundColorAttributeName value:text_textColor];
[text_textStr addAttribute:NSShadowAttributeName value:text_shadow];
text_view.attributedText = text_textStr;
[self.view addSubview:text_view]; |
Example Inline Content
1
2
3
4
5
6
7
8
9
| UILabel *text = [[UILabel alloc] initWithFrame:CGRectMake(132, 501, 227, 90)];
NSString *text_str = [NSString stringWithFormat:@"TEXT"];
text.numberOfLines = 0;
text.font = [UIFont fontWithName:@"ArialMT" size:68];
text.textColor = [UIColor colorWithRed:(255.0/255.0) green:(255.0/255.0) blue:(255.0/255.0) alpha:1];
text.text = text_str;
[self.view addSubview:text]; |
LOGIN NOW: Get instant access to our free Online Training - click here.


