
Import Eclipse Into Android Studio
Import your Android Output Eclipse project into Android Studio in a few simple steps with our visual guide. The Eclipse to Android Studio import is very easy and works with all Android outputs exported with the plugin.
NOTE: Read our guide for Exporting Android UI to learn how to create your export.
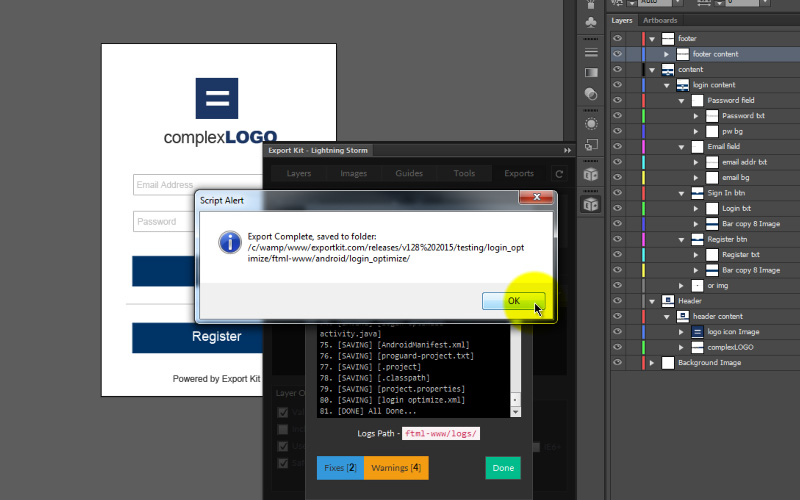
Step 1: Copy the export path
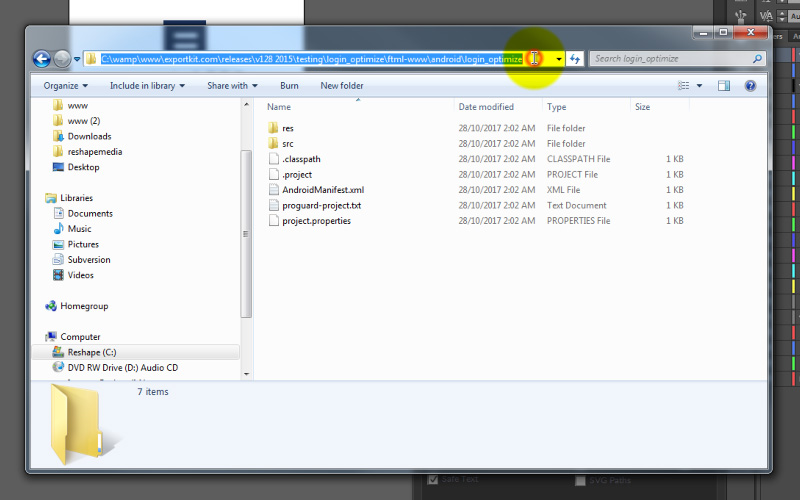
Once your export is complete, navigate to your export folder and copy the Android Output project path. You will need this path later.
Step 2: Import the Eclipse project
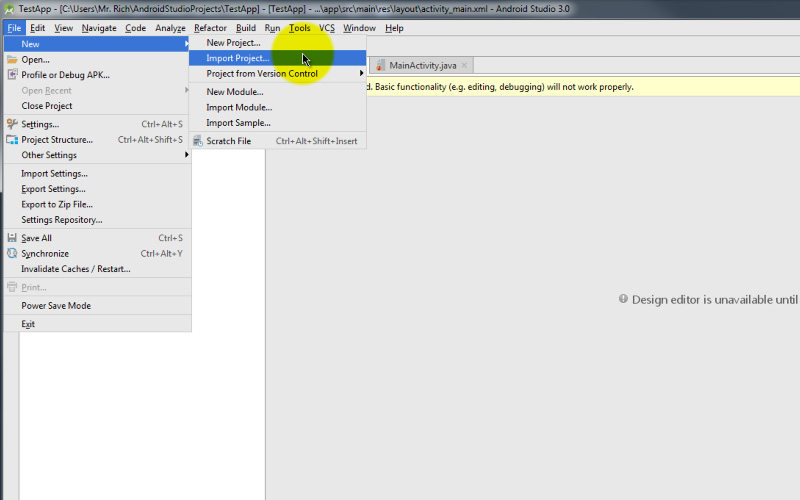
Open Android Studio and navigate to your to menu, then select [File > New > Import].
Step 3: Paste the export path

Paste the Android Output project path you copied in Step 1 and select OK. Click Next as required to continue.
Step 4: Import ADT project
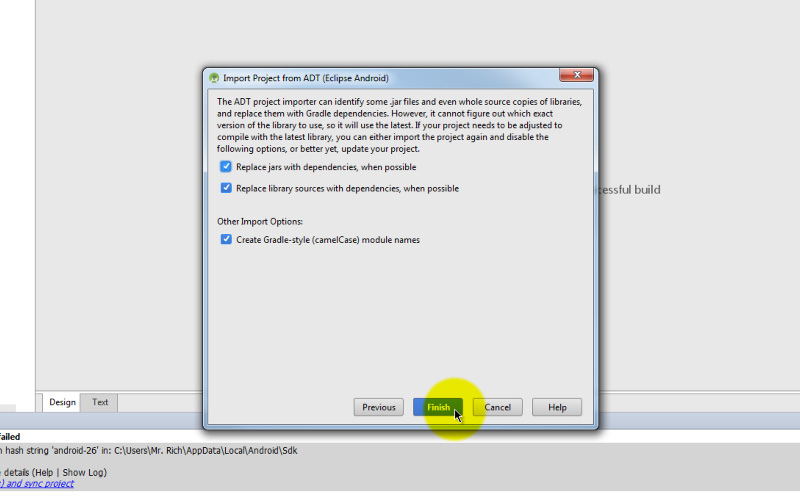
This step will attempt to install Graddle, click Finish to continue.
Step 5: Reload the errors
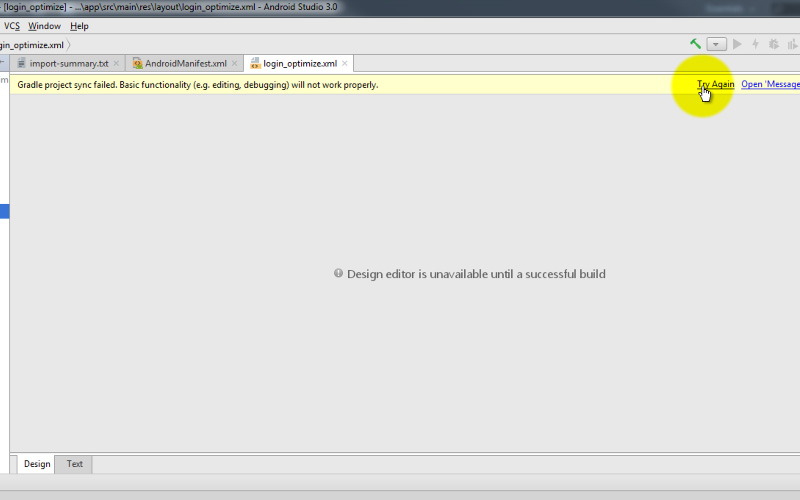
Once the project loads, open [res > layout] and select a XML View to load. Click Try Again in the top right corner.
Step 6: Auto-fix Graddle wrapper
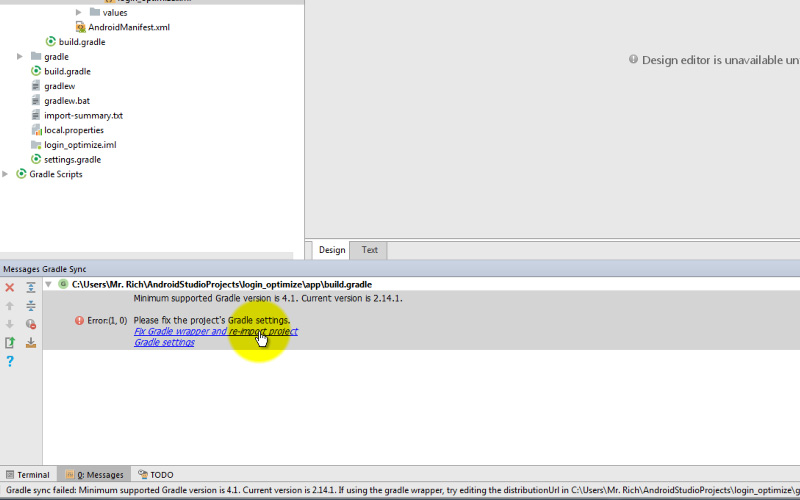
In your Messages window, click the link to Fix the Graddle Wrapper and reload the project.
Step 7: Import missing SDK (Required Once)
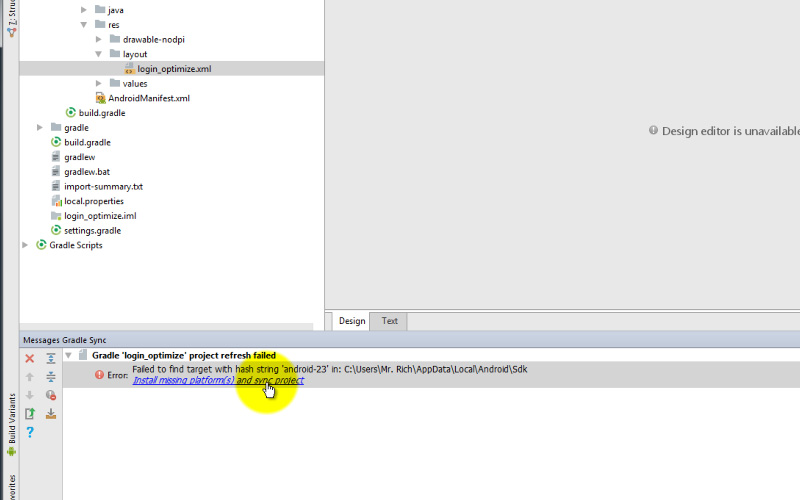
In your Messages window, click the link to Install Missing Platforms and sync the project.
Step 8: Install SDK (Required Once)
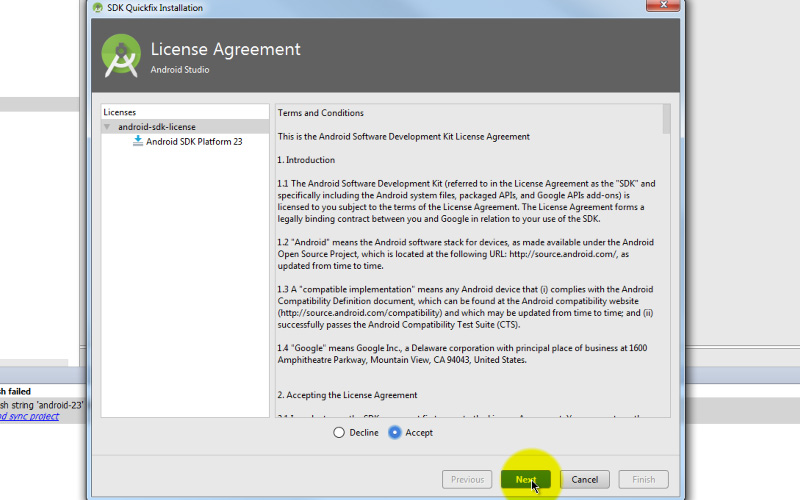
To install the missing SDK, Accept the License Agreement and click Next to continue. Once the install is complete, click Finish.
Step 9: Done
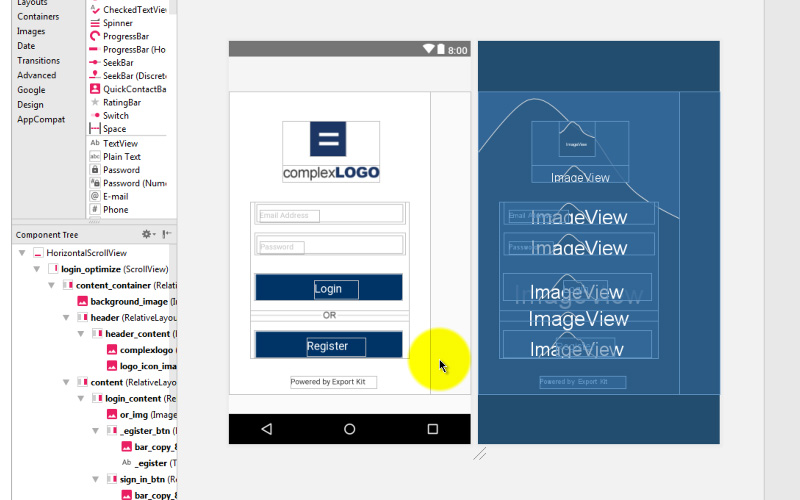
Your Android Output export is now fully imported from Eclipse into Android Studio.
