Using Android with Bootstrap

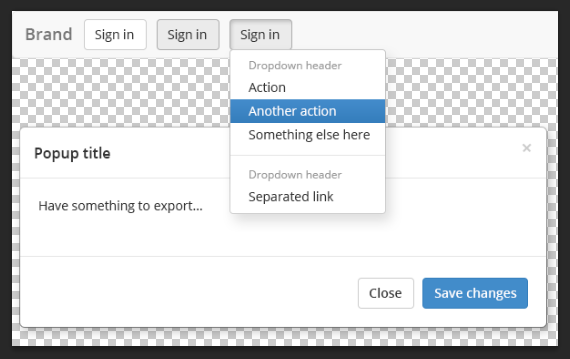
Android UI has great support for common elements used with mobiles, but the GUI is not the best. Welcome Android with Bootstrap support! Export Kit allows you to add Bootstrap themes to your Android UI Output with little to no effort!
Only with Export Kit you can unleash Bootstrap beyond CSS.Step 1: Install the UI Builder

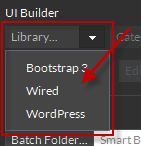
You can get started right away with Android and Bootstrap by installing our default UI Elements for Bootstrap. This will give you all UI/UX assets for building common Bootstrap-based themes. Most elements convert directly to Android with no additional steps required.
Step 2: Add your Bootstrap Elements

Add any preset Bootstrap element to your design, or create your own using any supported layer effect. Android has a few different rules regarding designs, and will require the correct folder structure to render correctly on each target screen. Text in Android is also very different and may require tweaking such as loading fonts and correctly text characters.
IMPORTANT: Android uses DPI, Photoshop/Illustrator use a custom Adobe pixel, they are NOT the same - learn more.Step 3: Export then Import into Studio

That’s it, no rocket science required. Not all layers and effects render the same in Android and you see visually in Photoshop or Illustrator, read our guide for exporting Android UI projects to learn how to import into Eclipse or Android Studio.
Optimize your Design
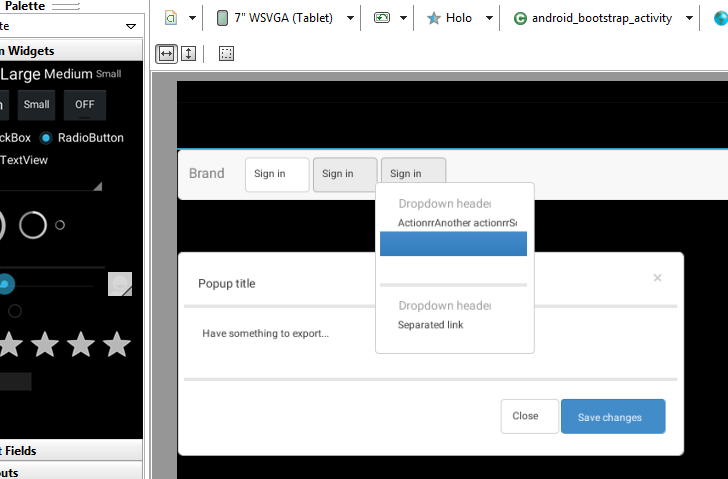
Android will render some elements differently than what is expected in web-based exports. You may need to return to Photoshop or Illustrator to tweak your design based on the results of your output.
EXAMPLE: Text elements. We always recommend you split your Paragraph Menus into individual menu items, Android will render new lines as '\r' and this may not visually render as expected.
EXAMPLE: If you create a single text layer as a Paragraph Menu, then you will only have access to a single TextView in Java, and this may not be what you expected.


